Membranes play a crucial role in various industries to ensure the removal of contaminants that can affect product quality and safety. To ensure accurate integrity test results and reliable membrane performance, it is essential to properly wet out these membranes. In this guide, we’ll walk you through the step-by-step process of wetting membranes to guarantee their integrity.
Why Wetting Membranes is Important?
Improper wetting of membranes can lead to dry regions within the membrane, potentially causing false indications of non-integral products. To prevent such issues, it’s crucial to follow the correct wetting procedure.
Equipment You Will Need
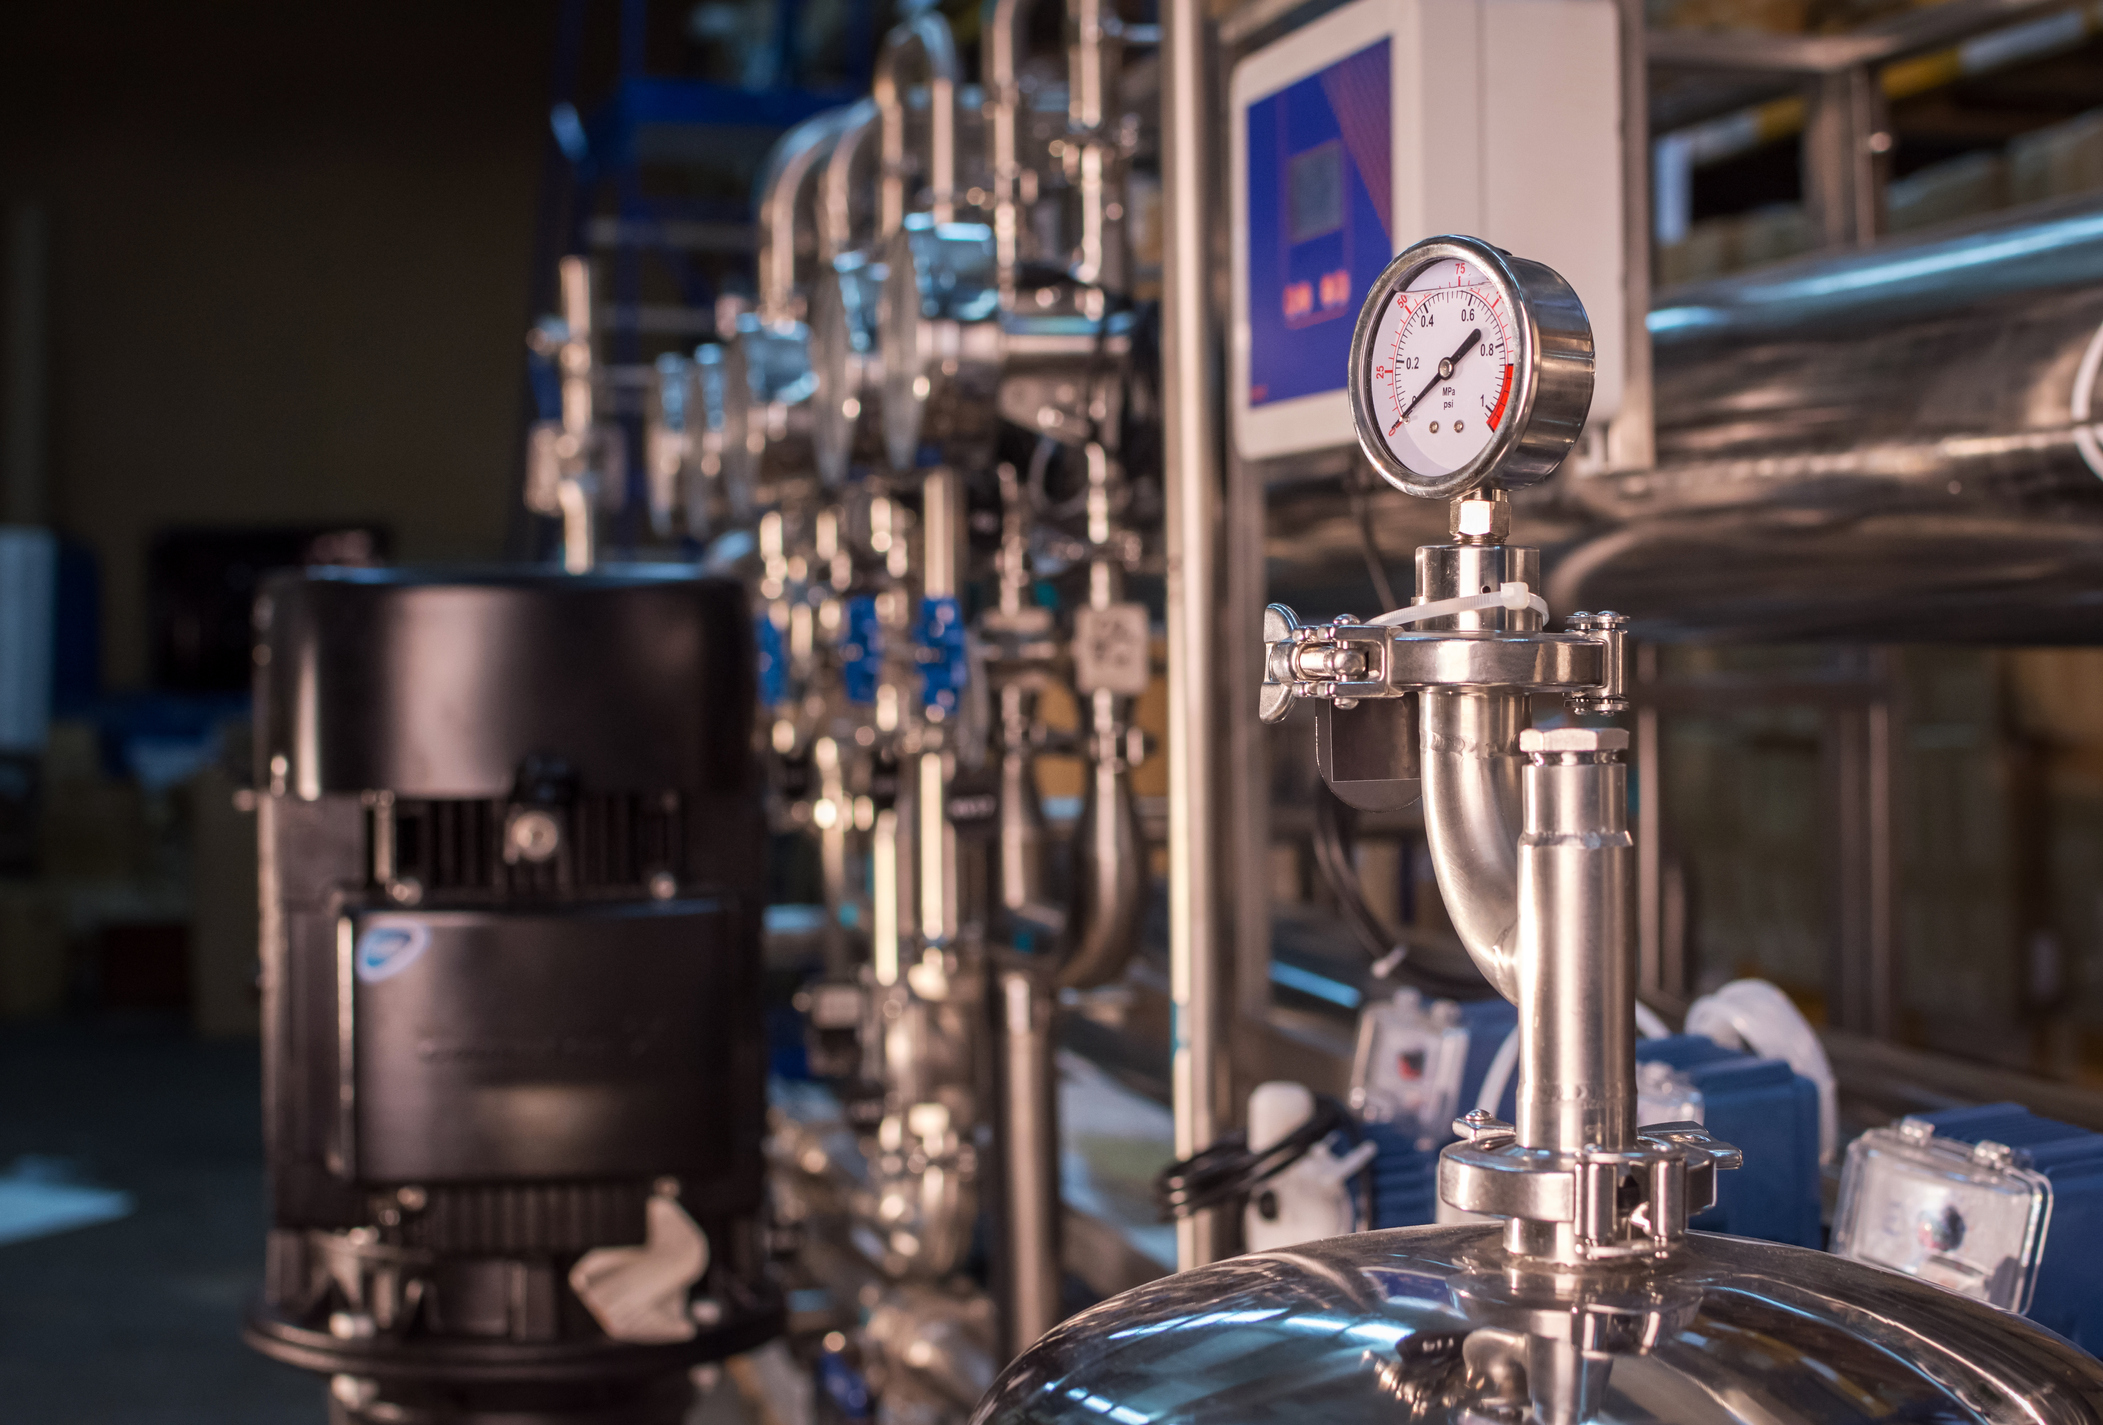
- Test Housing: A housing designed to hold & seal the test element, must be rated for at least 100 psi. It should allow venting of the upstream side of the element.
- Supply Water: A pressurized supply of deionized water filtered through a 0.2-micron or finer-rated membrane.
- Membrane Elements: The details of this procedure cover the wetting of 10″ elements. Adjust the flow rate as needed.
- IPA Solution: A mixture of 60% isopropanol (IPA) and 40% ultra-pure water.
Pre-Wetting is Necessary for Hydrophobic Membranes
If you are using hydrophobic membrane materials, it’s essential to pre-wet them before proceeding. Hydrophobic membranes, like our PTFE membranes, can be pre-wetted using a liquid with low surface tension, such as 100% isopropanol or the 60:40 IPA solution. Submerge and rotate the element in the liquid for approximately 30 seconds to ensure proper wetting.
Wetting Procedure
Now, let’s go through the steps to wet out membranes effectively.
- Flush the System: Before installing an element in the test housing, flush both the housing and system with supply water for one minute. This step helps clear possible contamination.
- Element Installation: Follow the recommended installation procedures to install an element into the housing. Begin water flow, filling the housing until water starts coming out of the upstream vent. Close the vent to allow system pressure to reach its maximum static value (minimum 30 psi). Ensure any remaining air is vented from the upstream side of the element.
- Pressure Sit: Allow the housing to sit under pressure for approximately 30 seconds.
- Flow Initiation: Open the downstream valve and set the maximum flow rate to 2-3 GPM per 10″ cartridge.
- Pressure Regulation: Regulate the pressure to ensure that downstream pressure remains at least 20 psi. It’s acceptable if this results in a reduced flow rate. Allow the flow to continue for 5 minutes.
- Flow Stoppage: Stop the flow, vent the system pressure, and drain the system.
- Integrity Testing: With the membrane properly wetted, it is now ready for integrity testing.
Wetting Procedure Diagram
Alternate Method:
In systems without pressure regulations but with higher flow rates available, a flow of 5-8 GPM may be used. During periods of non-flow, allow the unit to sit under pressure at the highest value attainable.
Properly wetting membranes is critical in ensuring the integrity of your filtration processes. By following these steps and precautions, you can minimize the risk of dry regions and false non-integral tests ensuring reliable filtration performance.